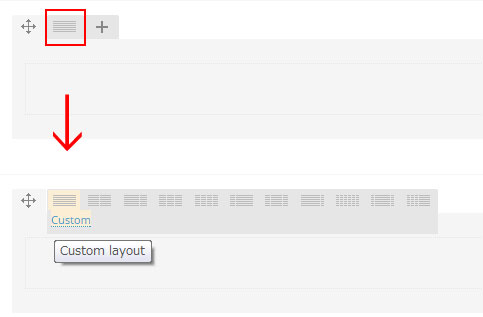
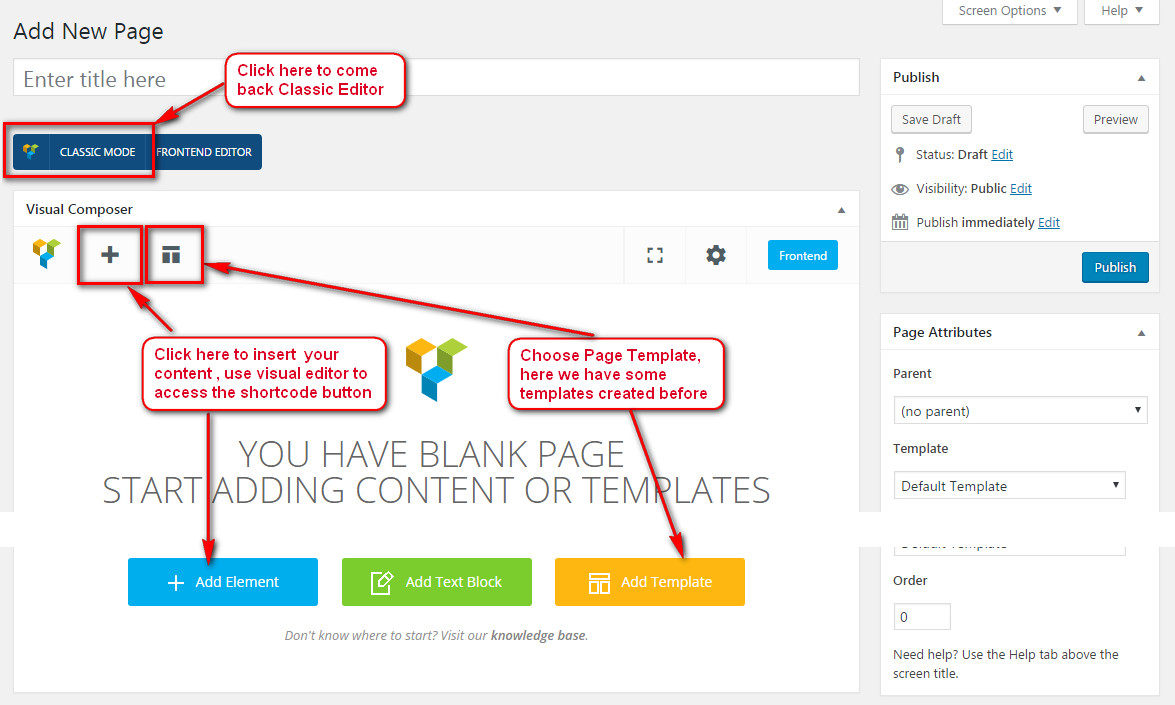
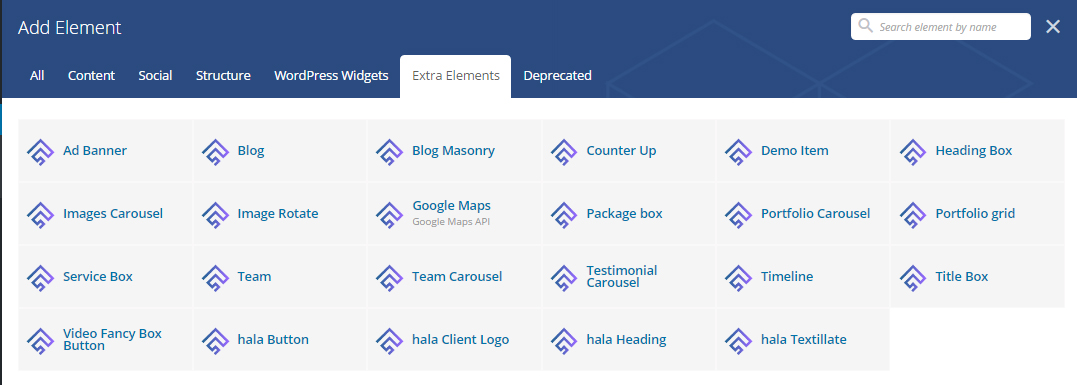
Elements area on page
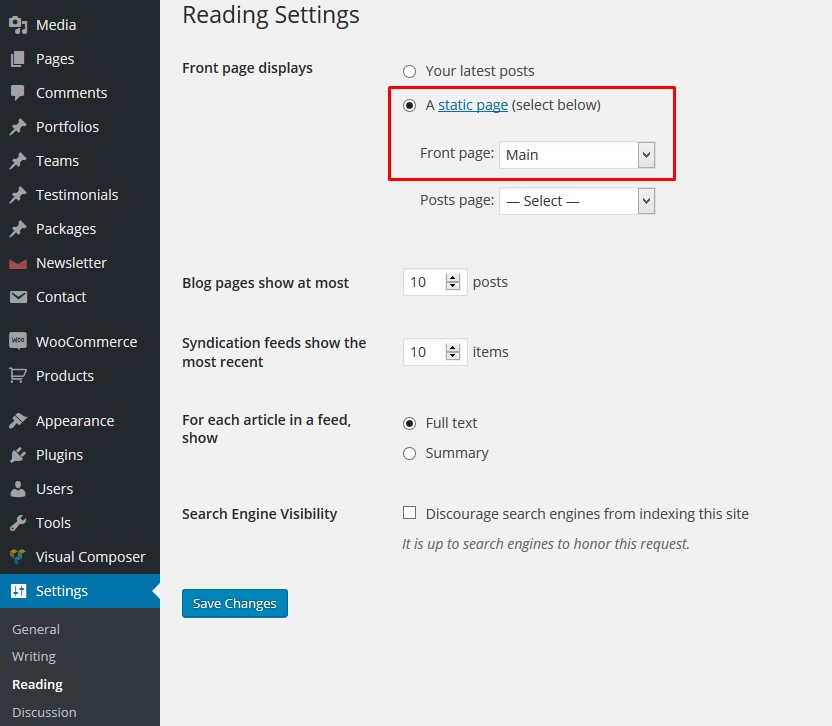
THIS IS GUIDE ON HOW TO BUILD HOME PAGE MANUALLY FOR HALA HOME PAGE 01

Add Portfolio Items
Step 1 - Log in to your WordPress Administration Panel (Dasrdoard).
Step 2 - Click the 'Portfolio' tab.
Step 3 - Click the 'Add New Portfolio Item' sub-tab.
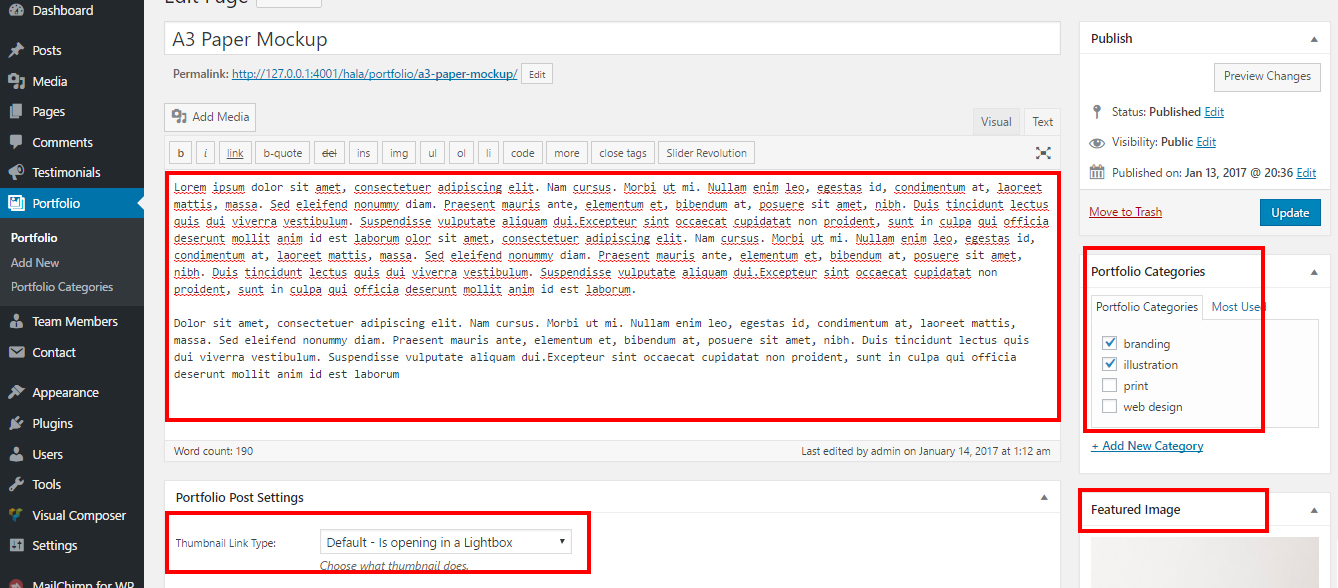
Step 4 - Start filling in the blanks: enter your portfolio title in the upper field, and enter your portfolio body content in the main post editing box below it.
Step 5 - Add categories to your item, the tags will be used as a filter on Portfolio Template pages.
Step 6 - Upload a featured image for your portfolio item then publish it.
Step 7 - Scroll down until you see the Portfolio Settings to Select thumbnail Link Type .
Create Portfolio page
Step 1 - Log in to your WordPress Administration Panel (Dasrdoard).
Step 2 - Click on Pages > Add New.
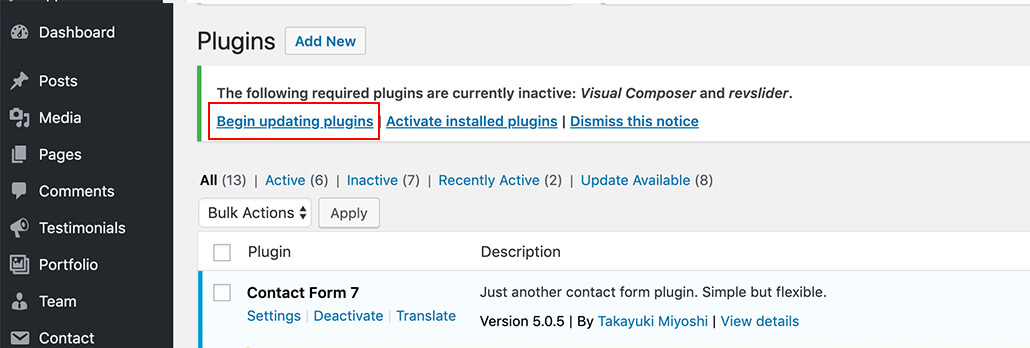
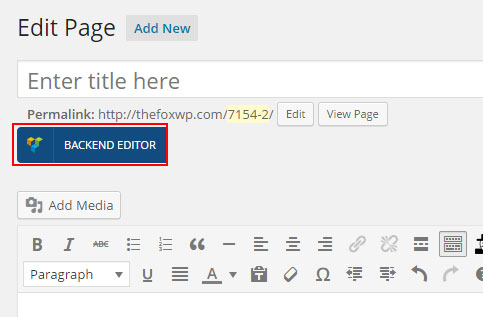
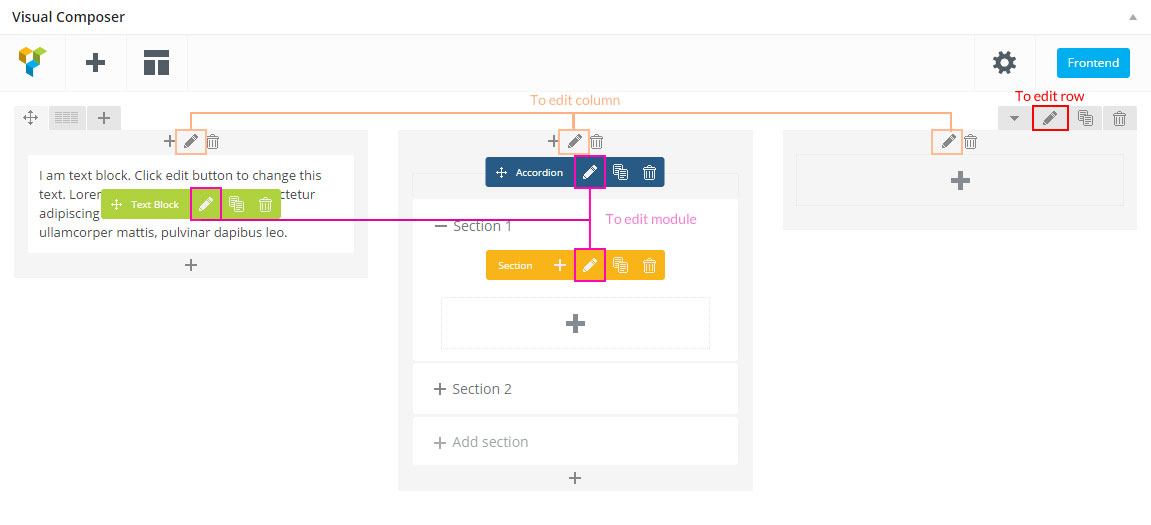
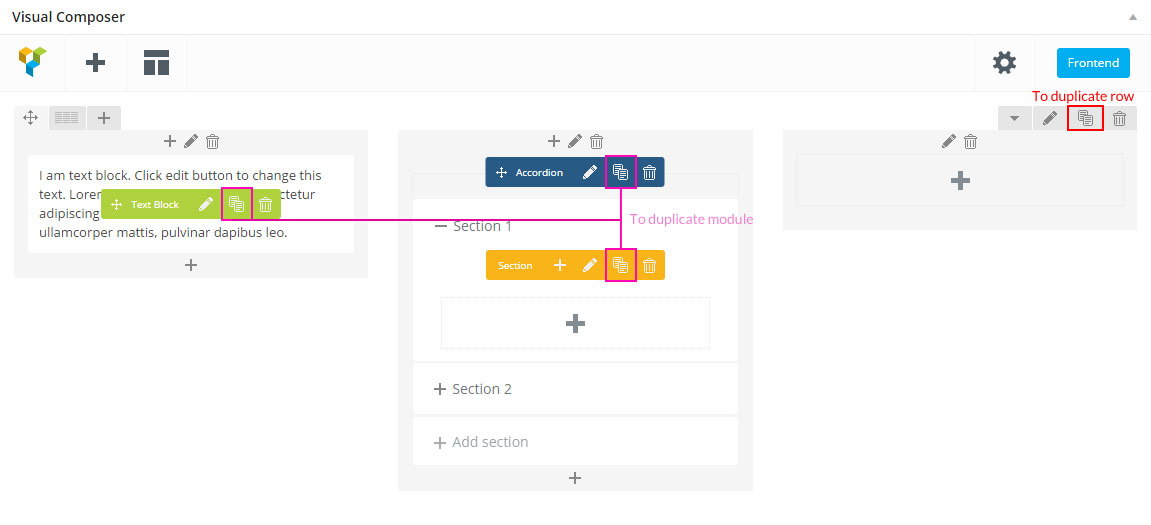
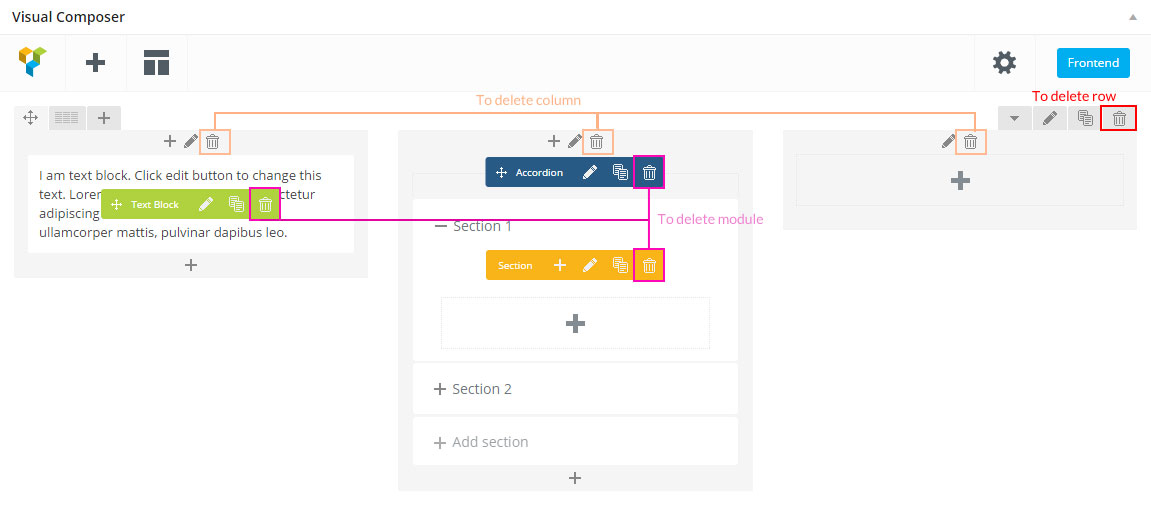
Step 3 - Give your page a name then Change the Editor to Backend Editor ( you need to have the Visual Composer plugin activated ).
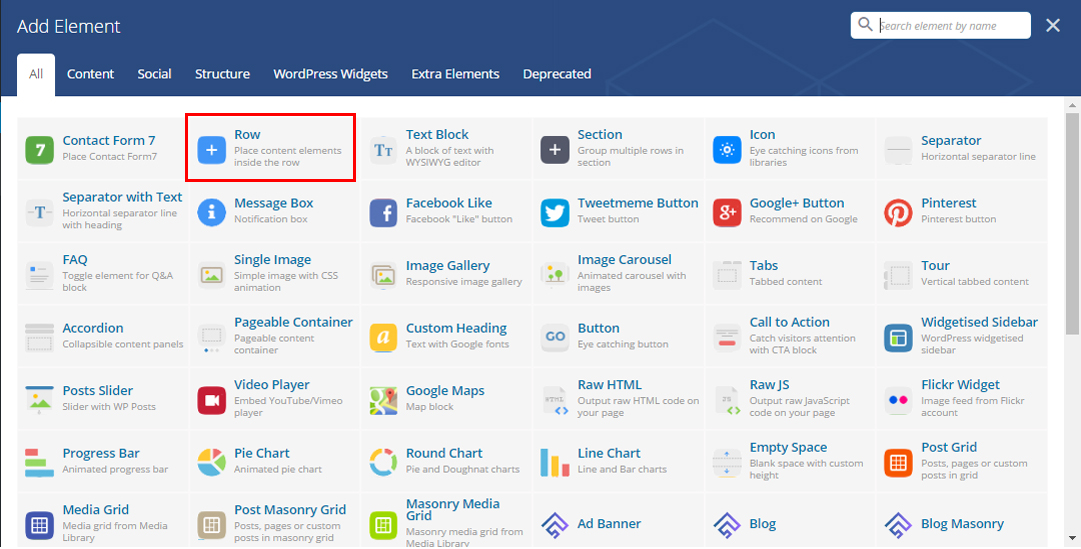
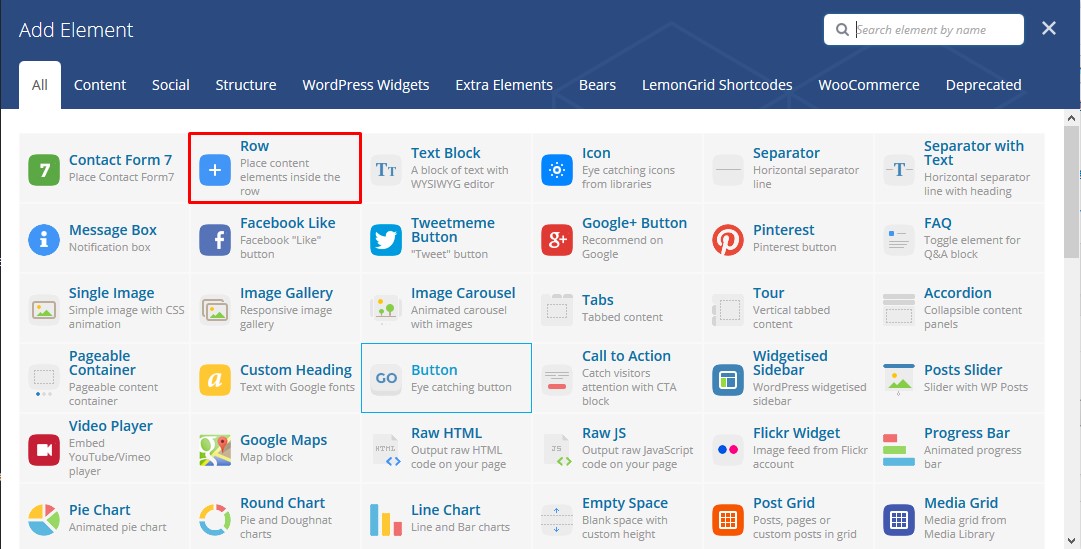
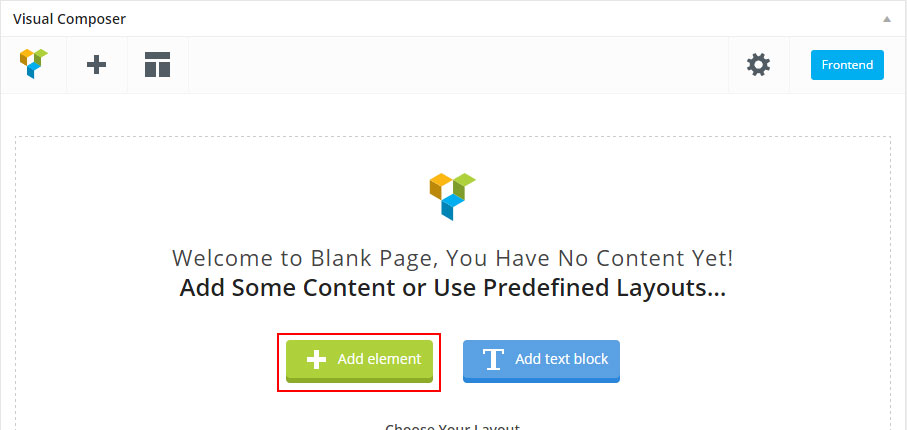
Step 4 - Click on the Add Element button
Step 5 - Select the Portfolio module.
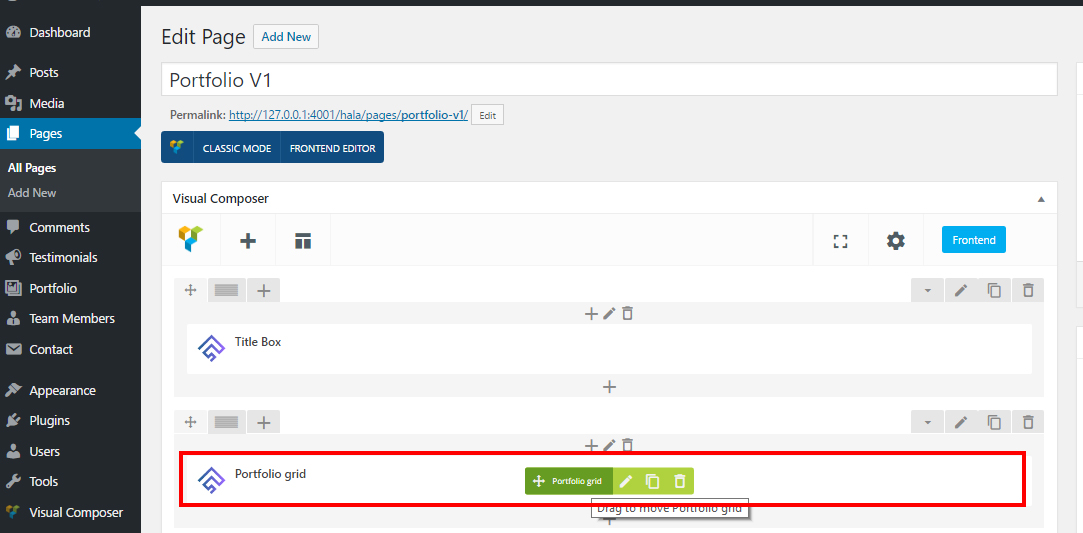
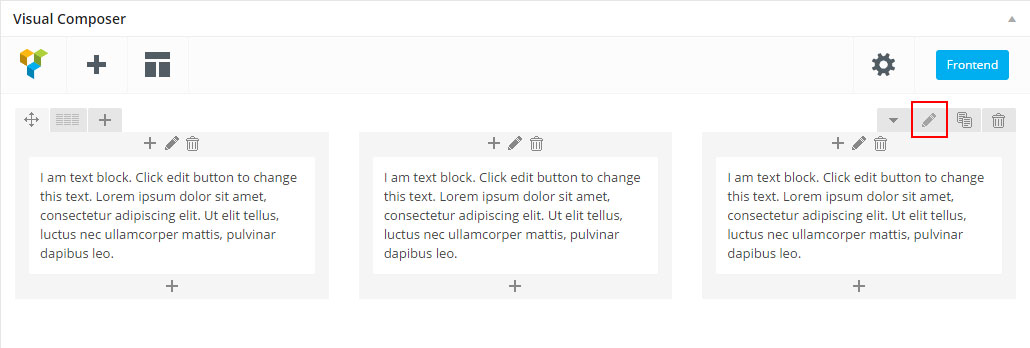
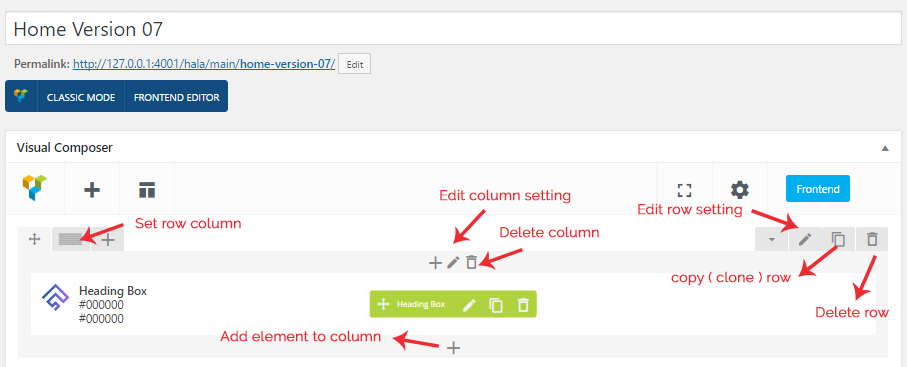
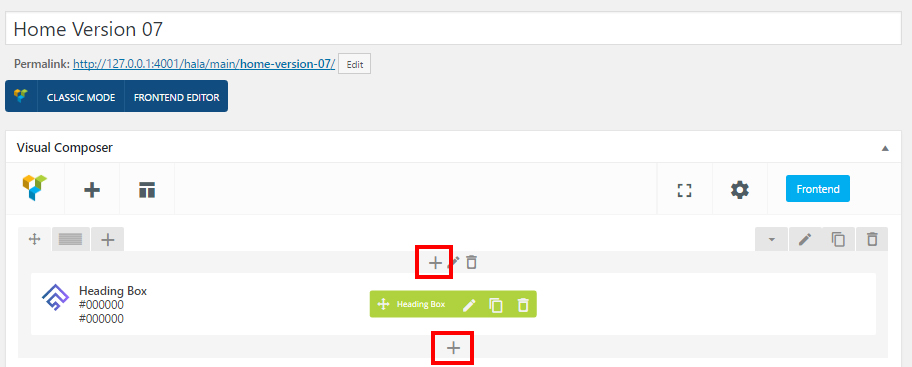
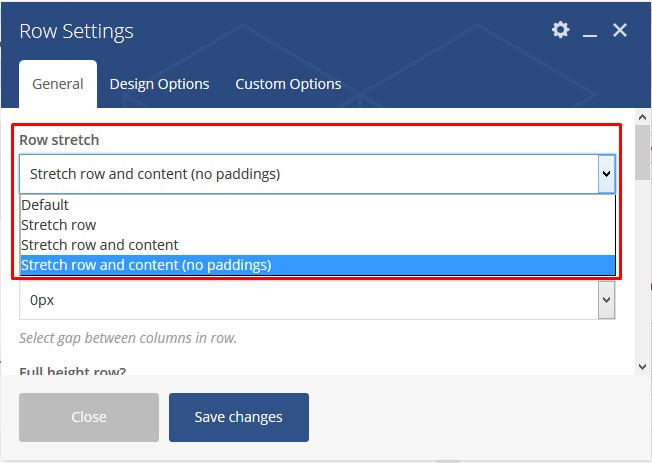
Step 6 - The Portfolio Settings should appear. You can customize the Portfolio by modifying the settings
Step 7 - After finishing, Publish the page.
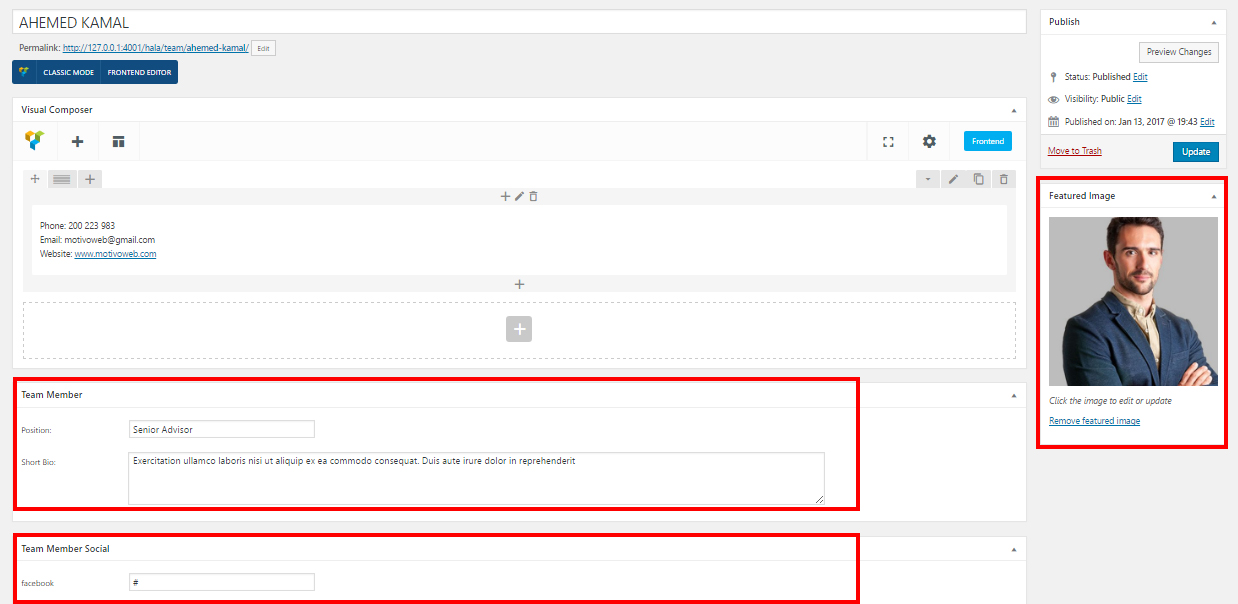
Create Team Post
Step 1 - Log in to your WordPress Administration Panel (Dasrdoard).
Step 2 - Click the Team Members > Add New.
Step 3 - Fill the title field with the team name, position and short bio if needed.
Step 4 - Add a featured image, it will represent your team member's image.
Step 5 - Scroll down until you see the Team Member Social.
Create Team page ( standard )
Step 1 - Log in to your WordPress Administration Panel (Dasrdoard).
Step 2 - Click on Pages > Add New.
Step 3 - Give your page a name then Change the Editor to Backend Editor ( you need to have the Visual Composer plugin activated ).
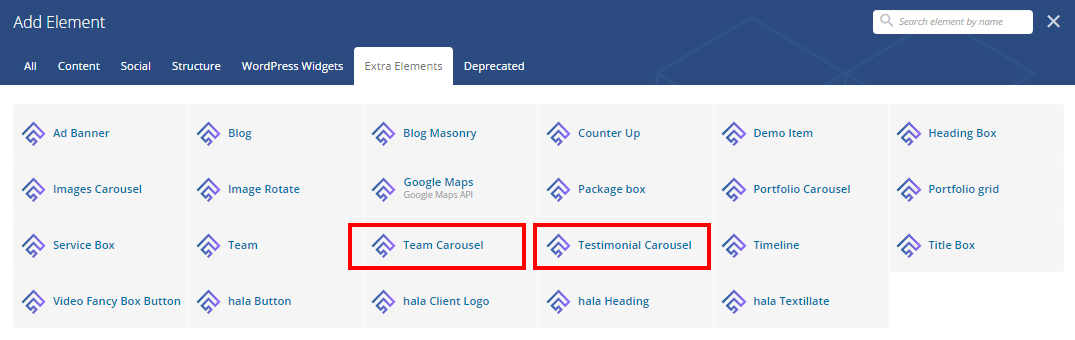
Step 4 - Click on the Add Element button
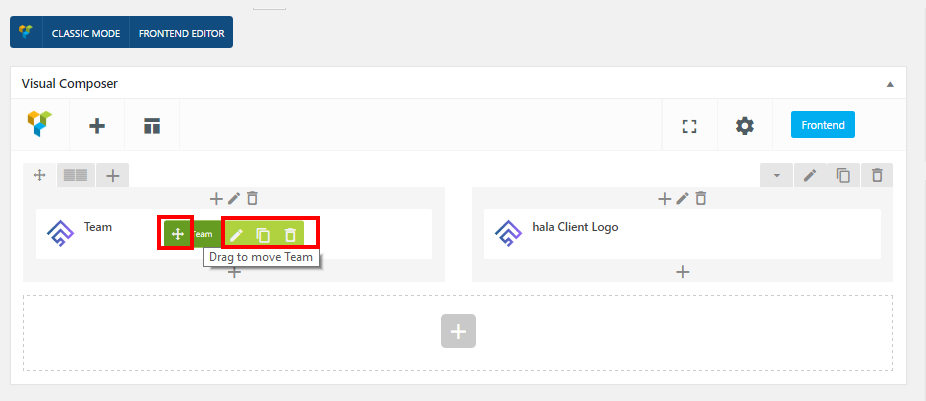
Step 5 - Select the Team Or Team Carousel module.
Step 6 - The Team should appear. You can customize the Team by modifying the settings
Step 7 - After finishing, Publish the page.
Create Blog page
Step 1 - Log in to your WordPress Administration Panel (Dasrdoard).
Step 2 - Click on Pages > Add New.
Step 3 - Give your page a name then Change the Editor to Backend Editor ( you need to have the Visual Composer plugin activated ).
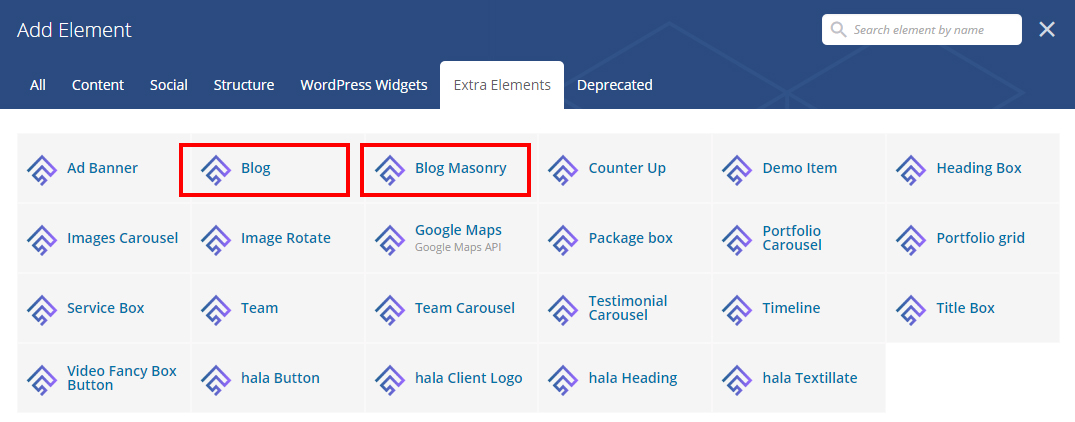
Step 4 - Click on the Add Element button.
Step 5 - Select the Blog module.
Step 6 - The Blog Settings should appear. You can customize the Blog by modifying the settings.
Step 7 - After finishing, Publish the page.
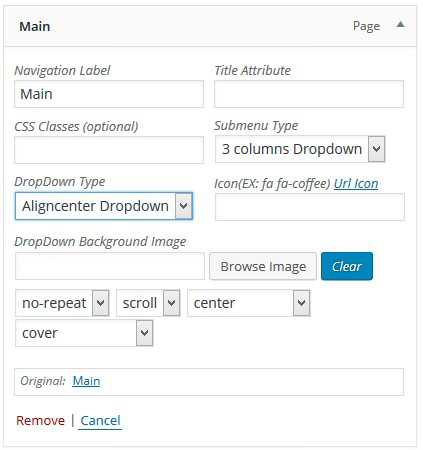
For each page you can change the title style, title background color, select to use a slider and much more! Check the screenshot and read the documentation to see how it works
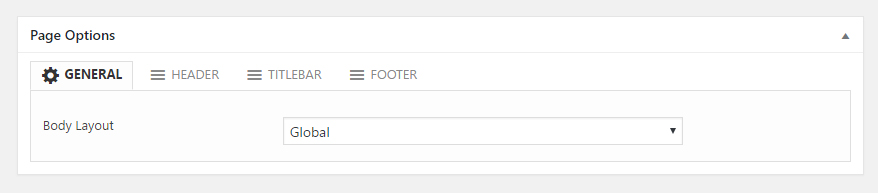
General setting
Body Layout - Select body layout for page ( Boxed - Wide ).
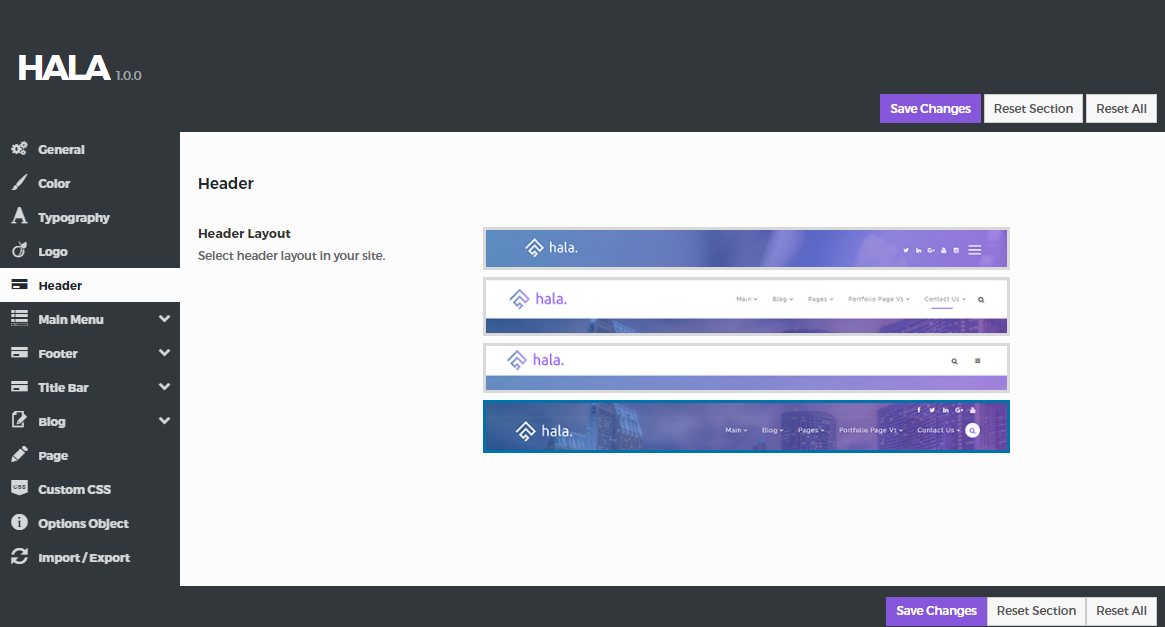
Header setting
Select Header - Select header layout for page.
Logo - Select an image logo for page.
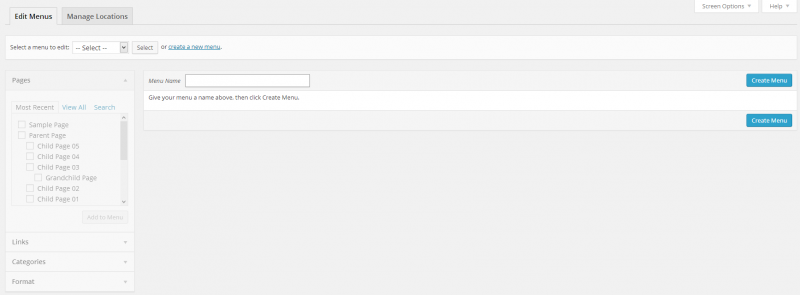
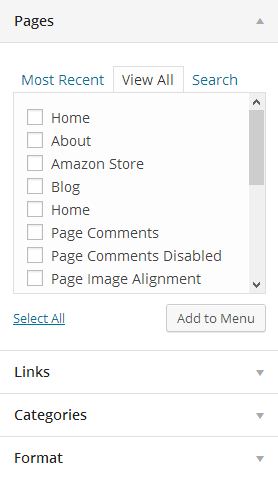
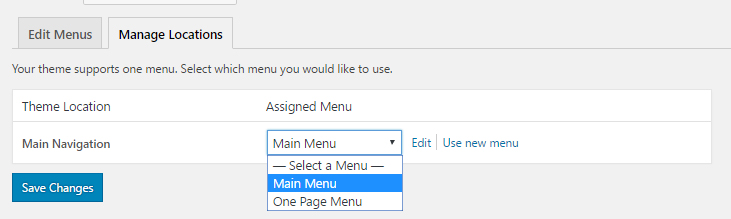
Select Menu - Select menu for page.
Select Position - Select position menu for page.
Disable Stick Menu - Disable Stick Menu for page.
Title Bar setting
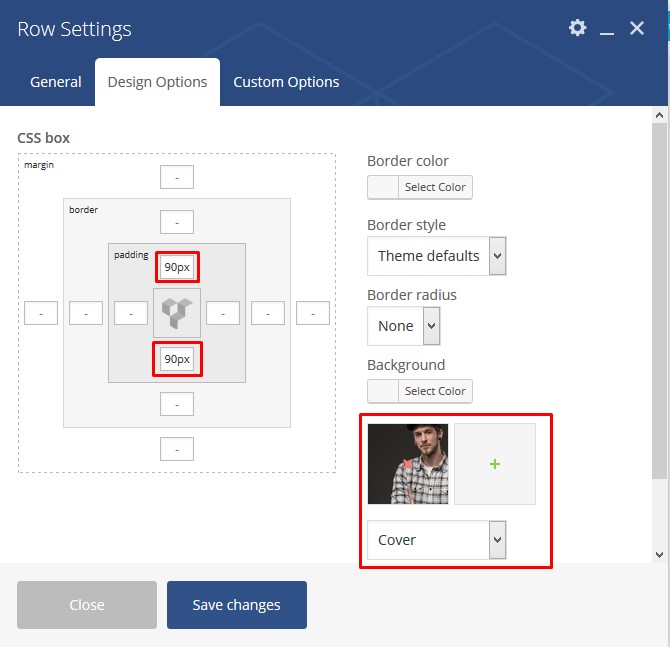
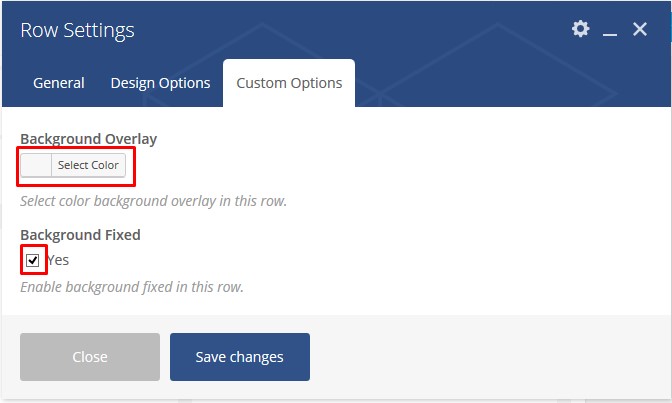
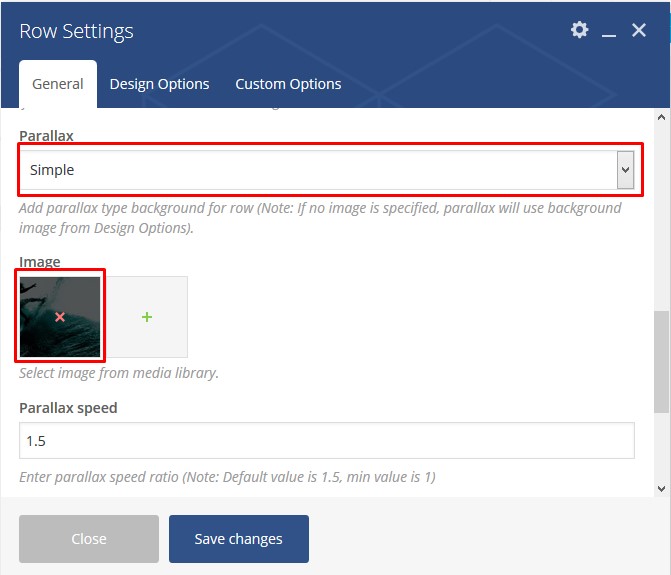
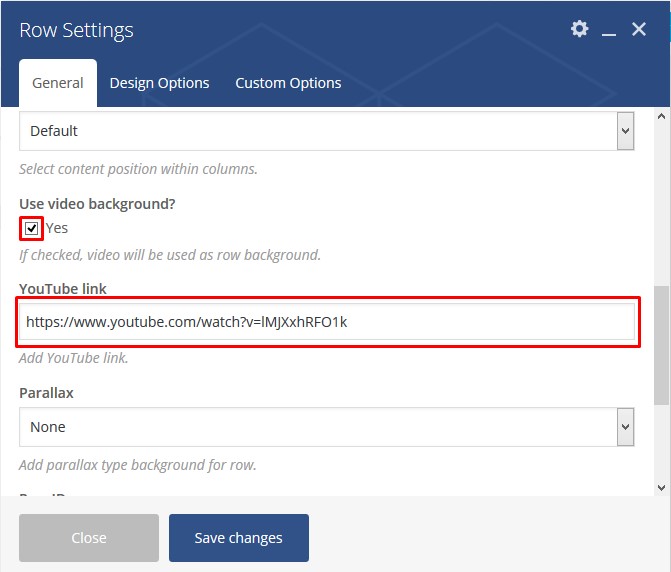
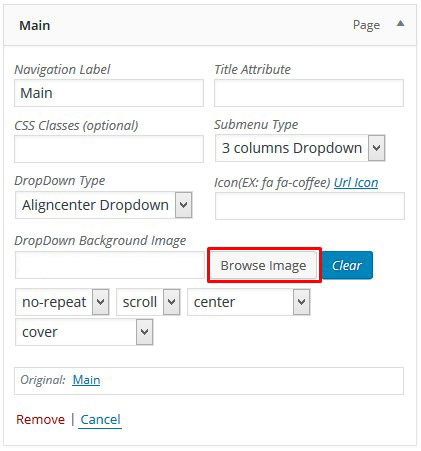
Background - Select Background title bar for page.
Select title bar style - Select style title bar for page ( Snow - Particles - Animator ).
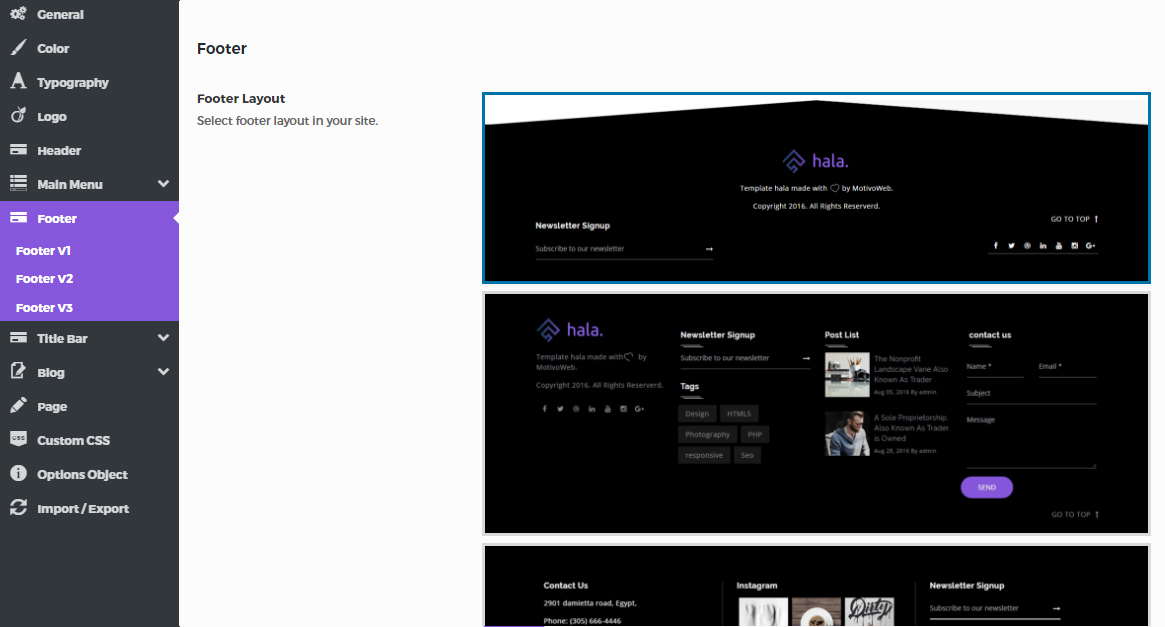
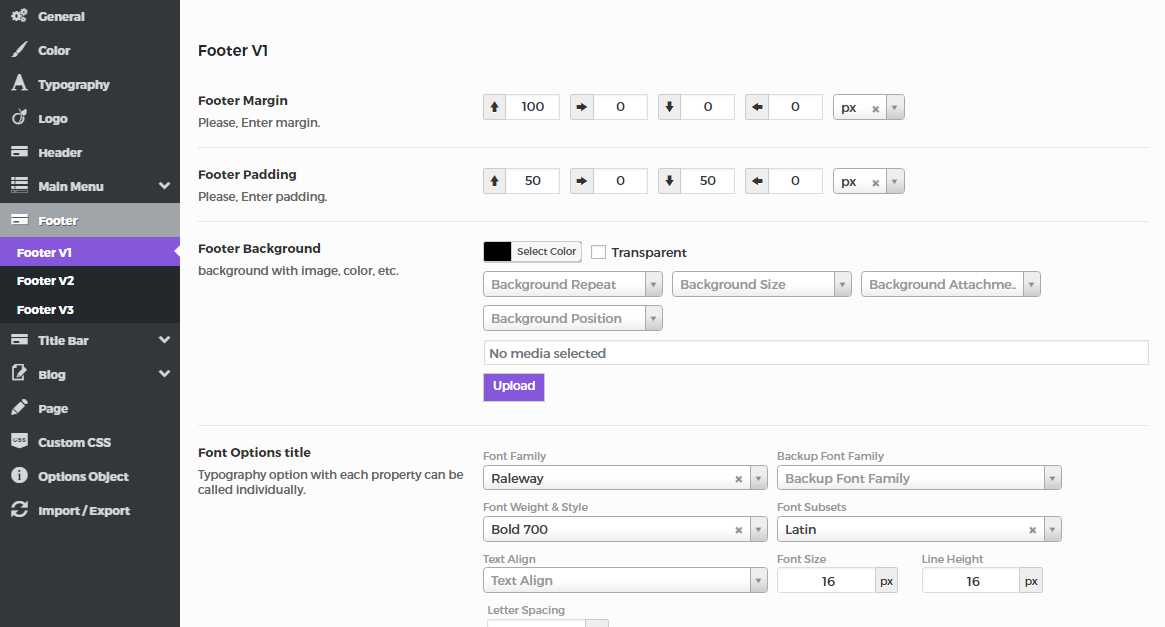
Footer setting
Select Footer - Select footer layout for page ( Footer V1 - Footer V2 - Footer V3 ).
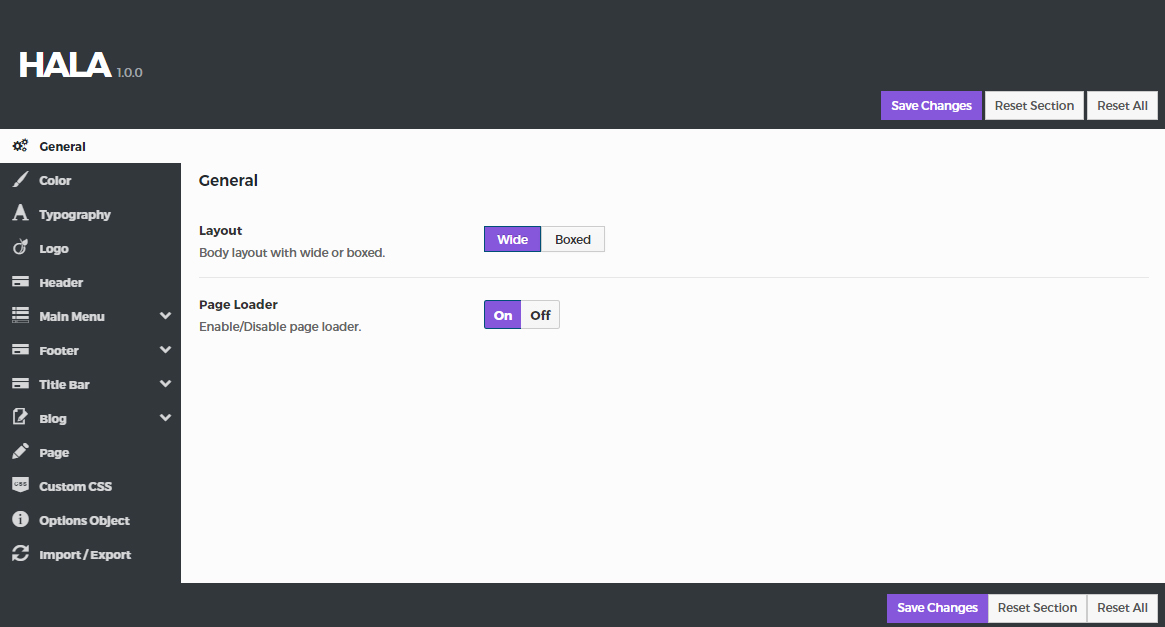
Theme Options
The theme comes with an extensive Theme Options Panel. From the Theme options panel you will be able to set or change the color of the theme, layout, header style, social icons and a lot more. You should take the time to go through all of these options to ensure that you are getting the most out of the theme.
Click Appearance > Theme Options to access the Theme Options Panel.
General setting
Layout - Body layout with wide or boxed.
Page Loader - Enable/Disable page loader.
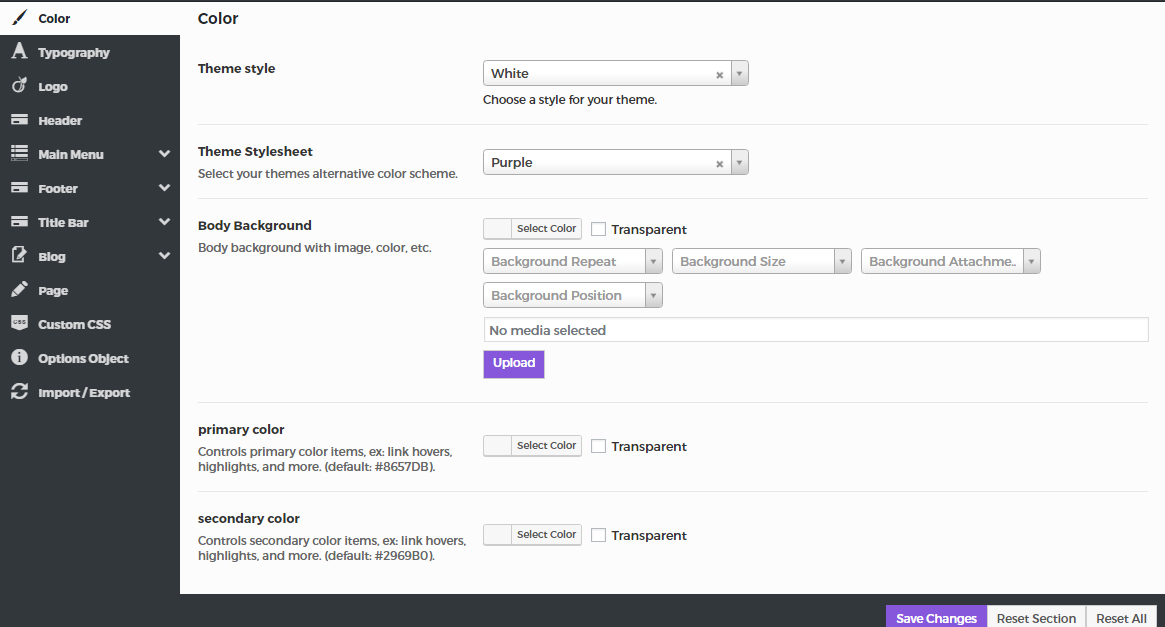
Color setting
Theme Style - Set Theme style ( White - Dark ).
Theme Stylesheet - Set stylesheet to change colors.
Body Background - Body background with image, color, etc.
Primary Color - Set primary color.
Secondary Color - Set secondary color.
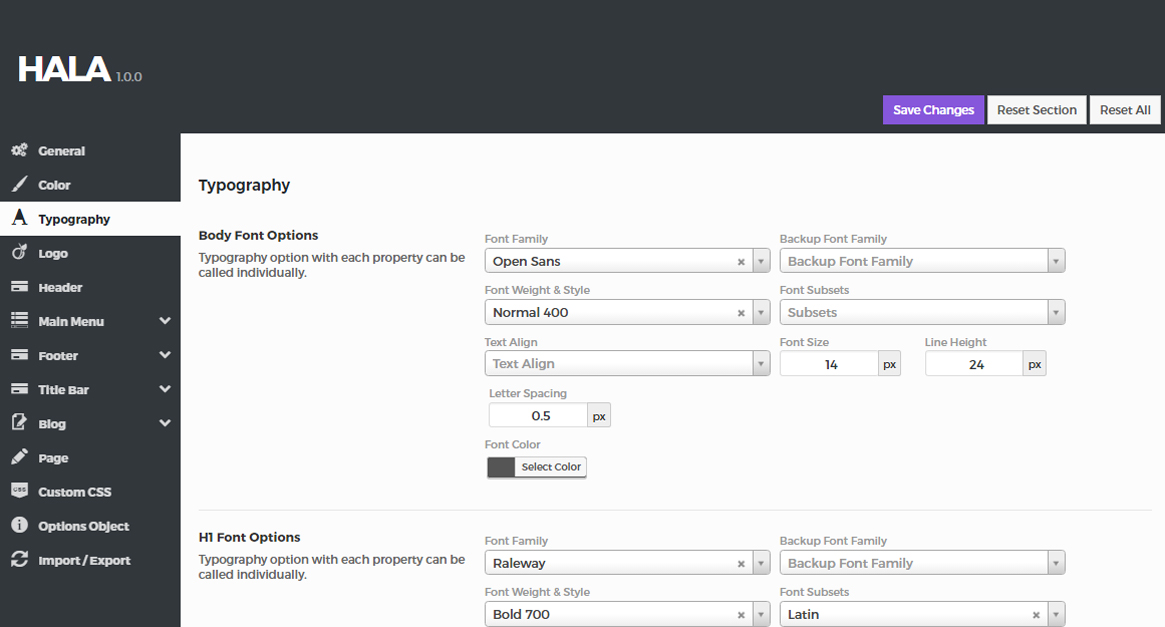
Typography
Body Font Options - Set value of Font Family, Font Subsets, etc.
H1/H2/H3/H4/H5/H6 Font Options - Set value of Font Family, Font Subsets, etc.
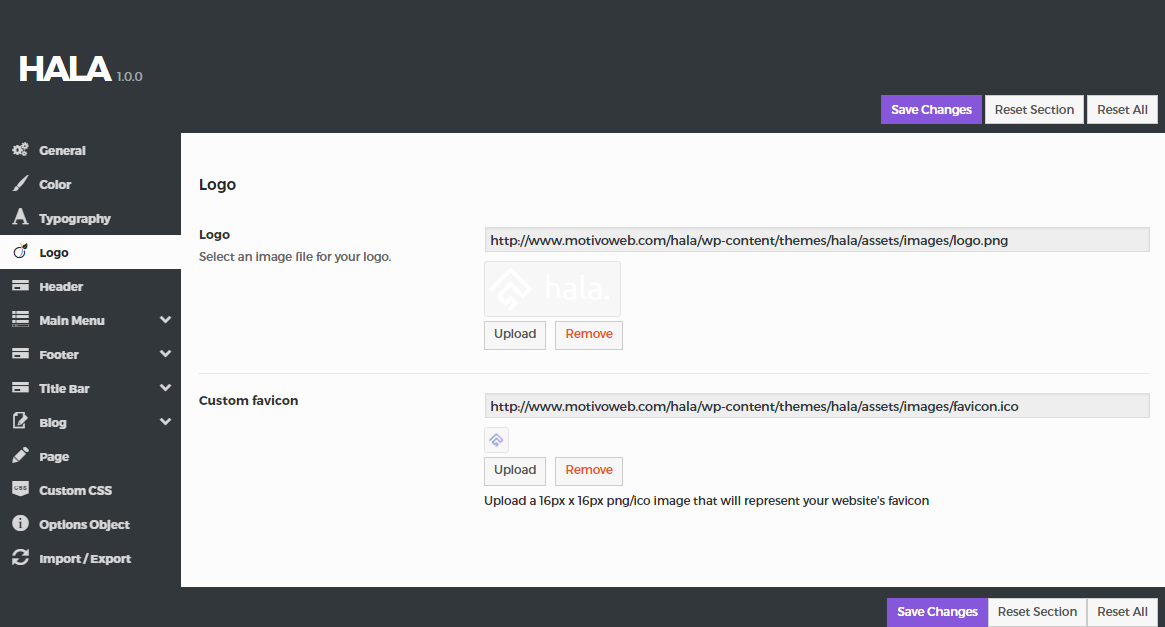
Logo setting
Logo - Select an image file for your logo.
favicon - Select an image file for your favicon.
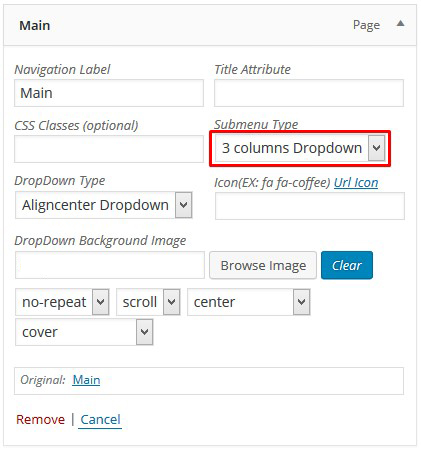
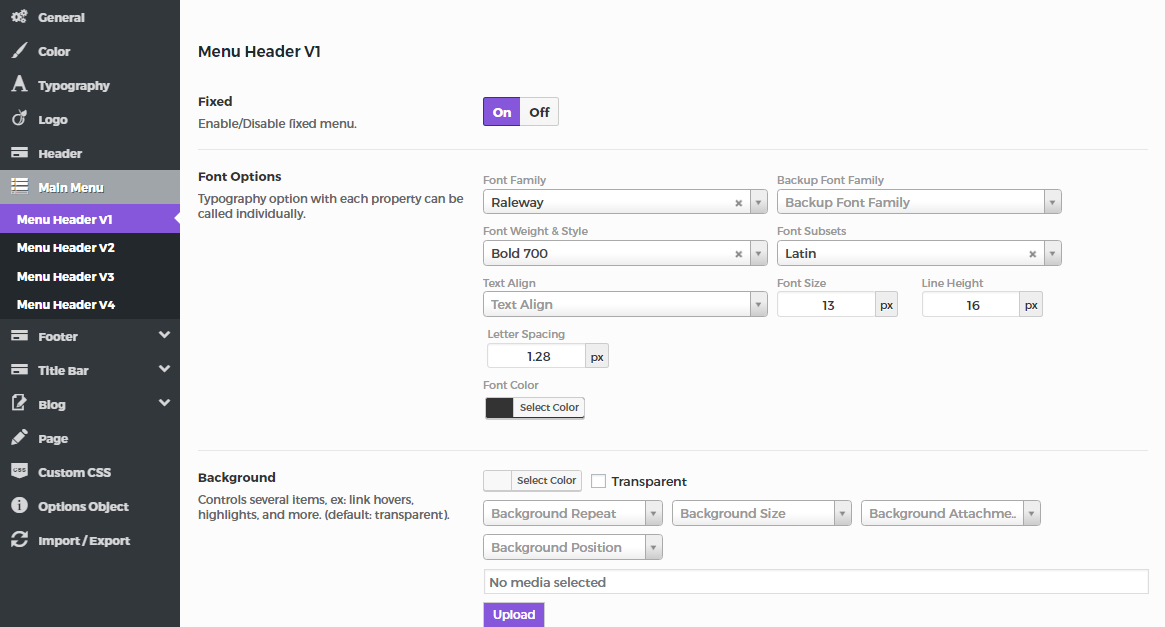
Main Menu setting
Fixed - Enable/Disable fixed menu.
Stick - Enable/Disable stick menu.
First Level Font Options - Set value of Font Family, Font Subsets, etc.
Sub Level Font Options - Set value of Font Family, Font Subsets, etc.
Background - Seclect background for menu.
Background Sub Level - Seclect background for dropdown menu.
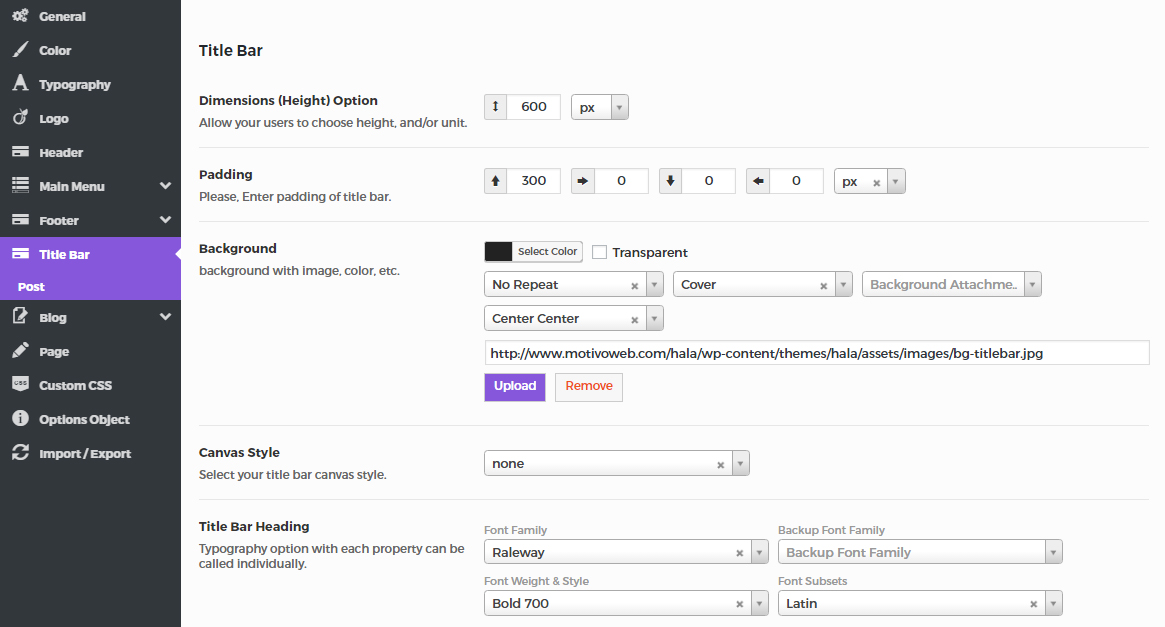
Title Bar setting
Dimensions (Height) Option - Enter the value of Height for Title Bar.
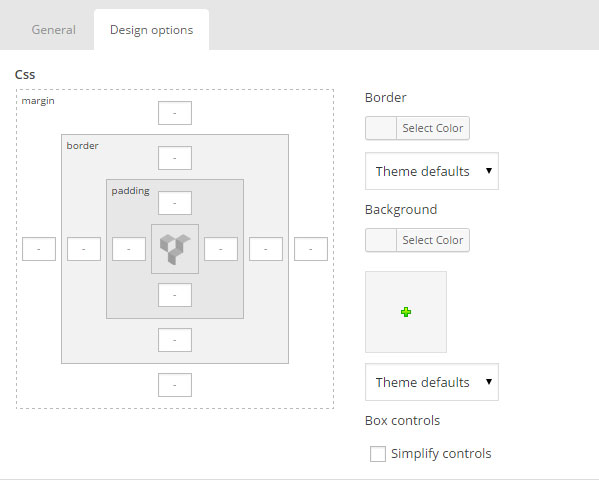
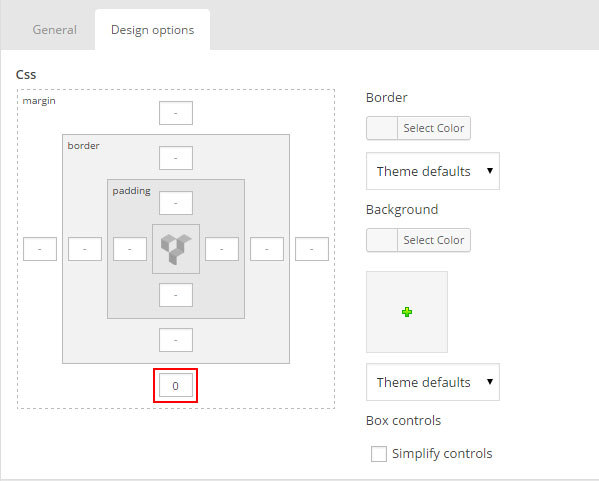
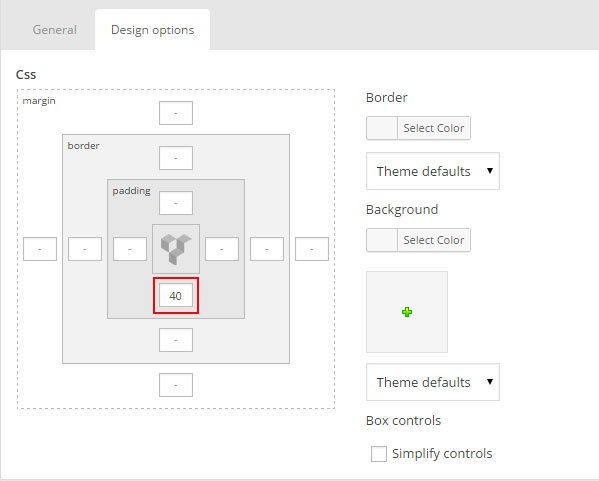
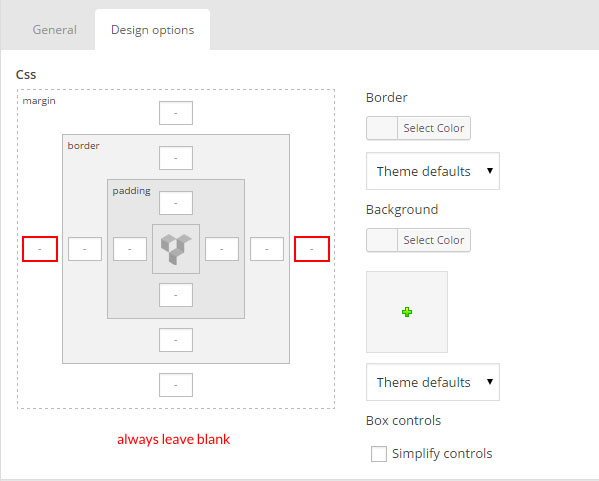
Padding - Enter the value of padding for Title Bar.
Background - Seclect background for Title Bar.
Canvas Style - Seclect canvas style for Title Bar ( Snow - Particles - Animator ).
Title Bar Heading - Set value of Font Family, Font Subsets, etc.
Title Bar Path - Set value of Font Family, Font Subsets, etc.
Sub Text - Enter sub text of Title Bar.
Sub Text Format - Set value of Font Family, Font Subsets, etc.
Delimiter - Enter Delimiter of page breadcrumb in Title Bar.
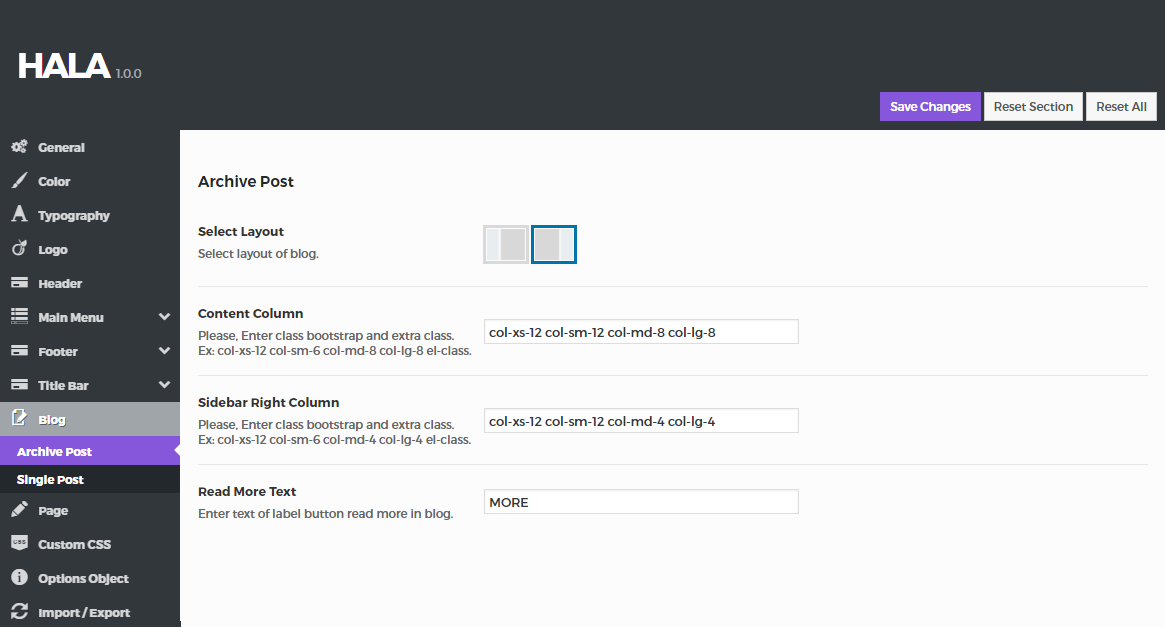
Blog setting
Select Layout - Select layout of blog.
Content Column - Enter class bootstrap content column.
Sidebar Right Column - Enter class bootstrap content column.
Read More Text - Enter text of label button read more in blog.
Show share - Show or not share on your single blog.
Show Navigation - Show or not post navigation on your single blog.
Show Author - Show or not post author on your single blog.
Show Comment - Show or not post comment on your single blog.
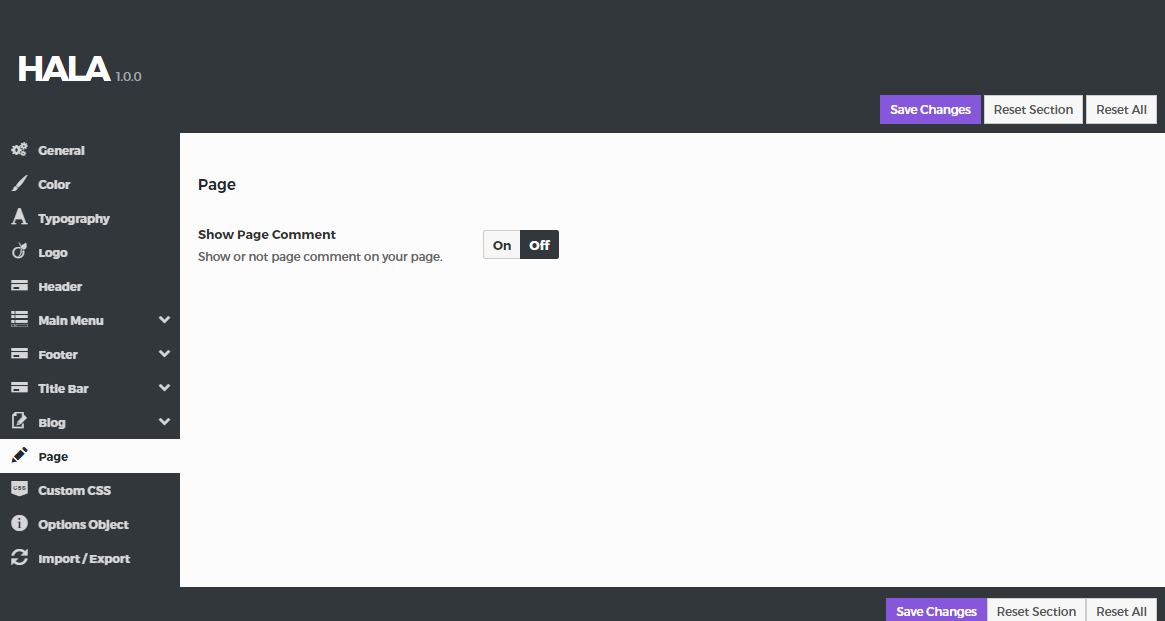
Page setting
Show Page Comment - Show or not page comment on your page.
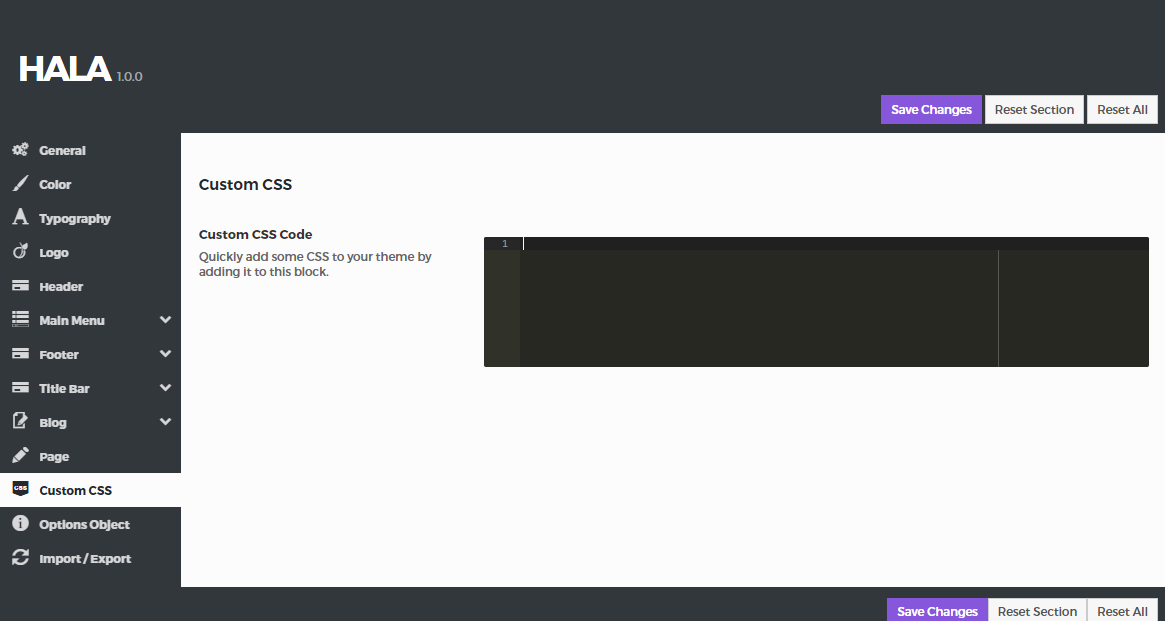
Custom CSS
Custom CSS Code - Quickly add some CSS to your theme by adding it to this block.